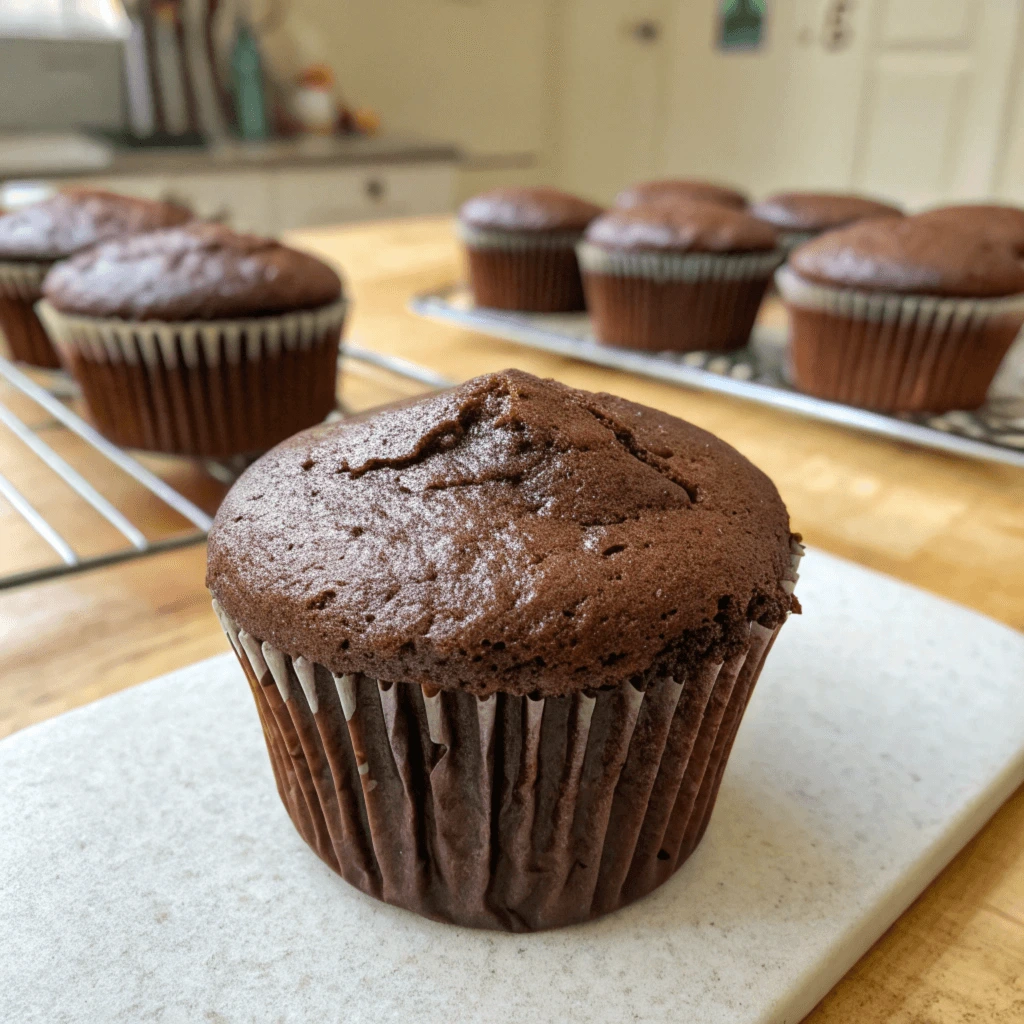
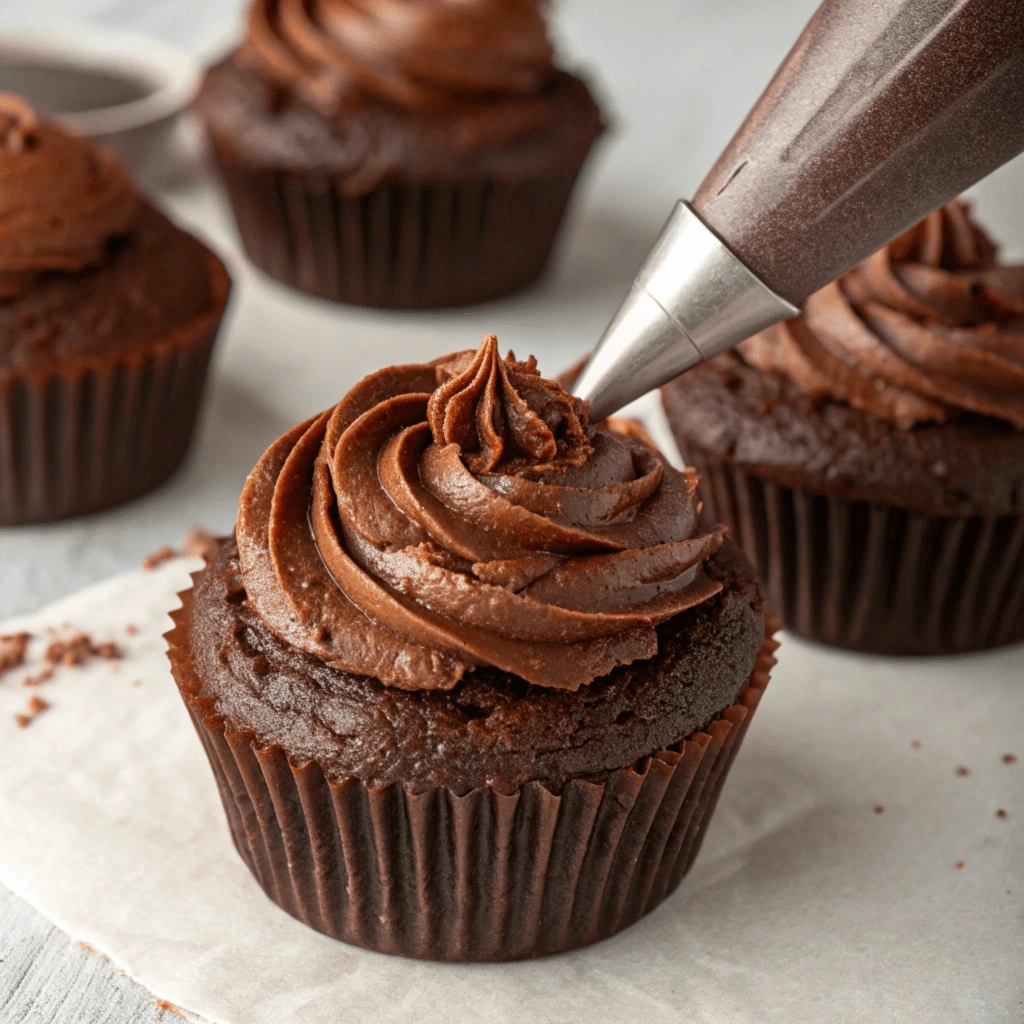
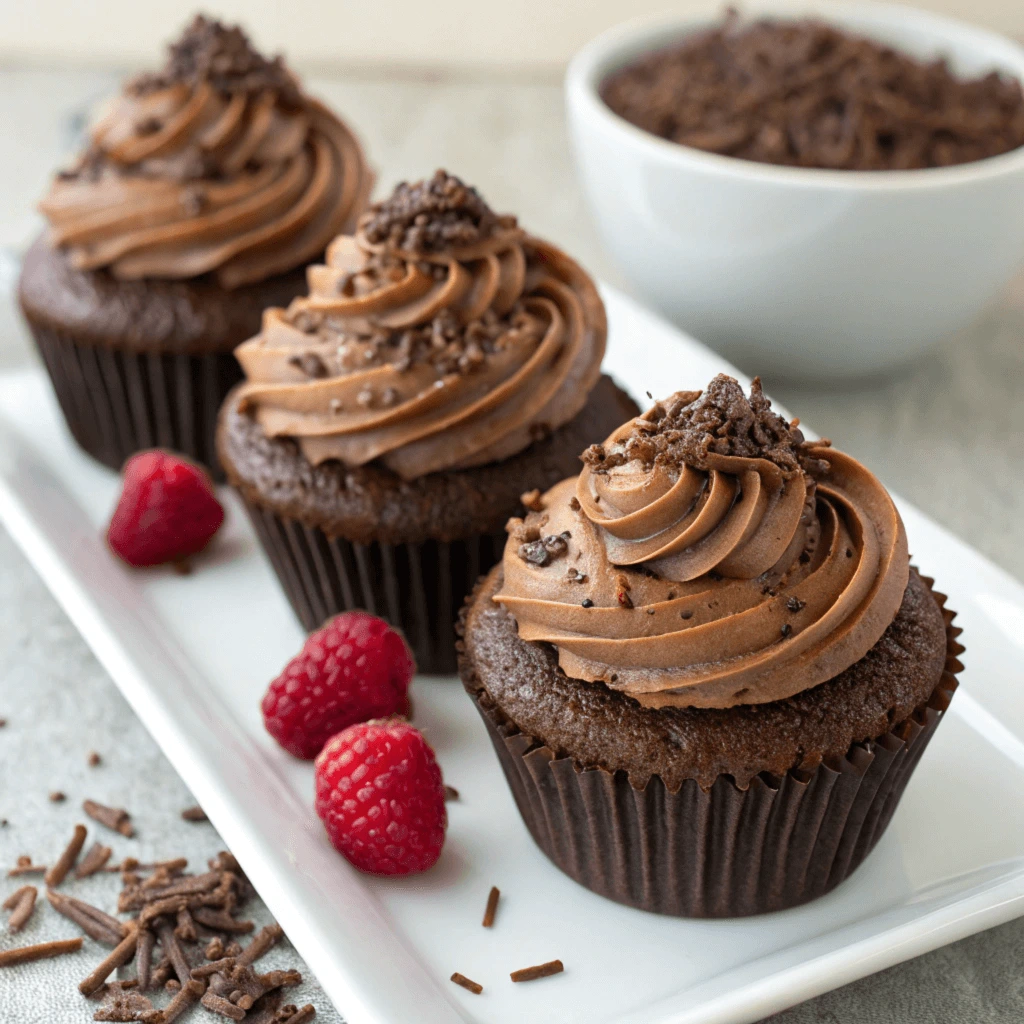
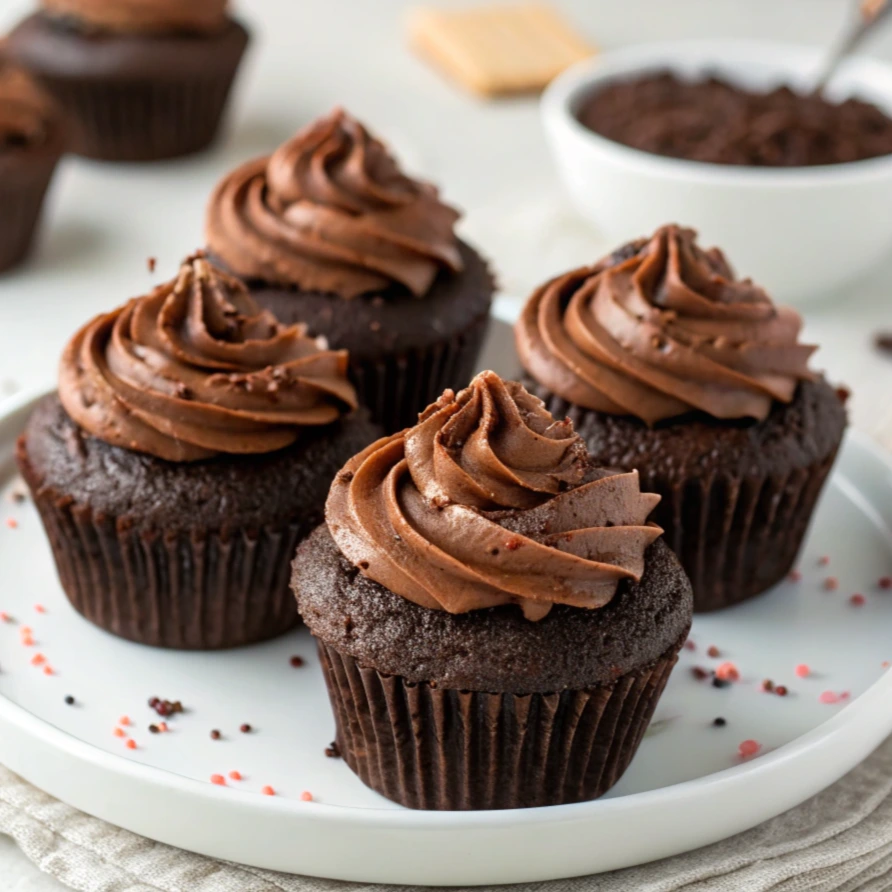
Who doesn’t love a delicious, homemade chocolate cupcake? Whether you’re a seasoned baker or a beginner, this chocolate cupcakes recipe is simple to follow and guarantees perfectly moist, fluffy, and rich cupcakes every time. Made with classic ingredients like cocoa powder, butter, and sugar, these cupcakes are the ideal sweet treat for any occasion. Whether you’re baking for a birthday, a special celebration, or just because, this easy recipe will guide you through each step to ensure your cupcakes come out just right. Ready to learn how to make the best chocolate cupcakes ever? Let’s dive into the recipe!
Essential Ingredients for Perfect Chocolate Cupcakes
To make the perfect chocolate cupcakes, using the right ingredients is key. Each ingredient contributes to the flavor, texture, and overall quality of your cupcakes. Here’s a breakdown of the essential ingredients you’ll need for both the cupcakes and the topping:
For the Cupcakes
- 125g Softened Butter
Softened butter is essential for creating a smooth batter and giving your cupcakes a rich, buttery flavor. It helps trap air into the mixture, ensuring your cupcakes rise well and remain light and fluffy. Make sure the butter is at room temperature for the best results. - 150g Granulated Sugar
Sugar is the secret to adding sweetness and moisture to your cupcakes. Granulated sugar helps with the structure and balance of flavors, contributing to that irresistible, melt-in-your-mouth texture. The sugar also reacts with the butter to create a light and airy crumb. - 2 Large Eggs
Eggs play a crucial role in binding the ingredients together and adding moisture. They also help with the structure of the cupcakes, providing stability and texture. The eggs help the batter rise and create that perfect, tender crumb. - 100g Plain Flour
Plain flour is the foundation of your cupcake batter. It gives structure to the cupcakes without making them too dense. You can sift the flour to ensure a light and airy texture, which will help make your cupcakes soft and fluffy. - 40g Cocoa Powder
Cocoa powder is what gives your cupcakes their rich, chocolate flavor. Be sure to use high-quality unsweetened cocoa powder for the best taste. The cocoa powder adds depth and complexity to the flavor, making your cupcakes truly decadent. - 1/2 tsp Baking Powder
Baking powder is a leavening agent that helps your cupcakes rise. It reacts with the wet ingredients to create bubbles, giving the cupcakes a light, fluffy texture. The amount specified is ideal to ensure the perfect rise without making the cupcakes too airy. - 100g Heavy Whipping Cream
Heavy whipping cream adds moisture and richness to the batter. It helps achieve a creamy texture that contributes to the soft, melt-in-your-mouth consistency of the cupcakes. It also helps balance the cocoa powder and creates a luxurious feel in each bite. - 100ml Freshly Brewed Espresso
Espresso might seem unusual, but adding freshly brewed coffee enhances the depth of flavor in your chocolate cupcakes. The bitterness of the coffee complements the sweetness and intensifies the chocolate flavor, making these cupcakes truly irresistible. Don’t worry, the coffee flavor won’t be overpowering—it’s just enough to elevate the chocolate taste.
For the Topping
1. 125g Softened Butter
Butter is the foundation of this rich, velvety chocolate frosting. It adds creaminess and smooth texture, ensuring your frosting has the perfect consistency for spreading or piping. When softened, it blends easily with the other ingredients, creating a smooth, luscious base for your chocolate frosting.
2. 120g Heavy Whipping Cream
Heavy whipping cream is essential for achieving a light and fluffy frosting. It adds volume and richness, making the frosting airy yet creamy. Whipping the cream helps it hold its shape when piped or spread onto the cupcakes, giving your cupcakes that professional, smooth finish.
3. 40g High-Quality Cocoa Powder
Cocoa powder is the key to a rich, deep chocolate flavor. Using high-quality cocoa, such as Dutch-processed cocoa, ensures the frosting is smooth and has a well-balanced taste. It also contributes to the frosting’s velvety texture, making it easy to spread evenly on your cupcakes.
4. 200g Powdered Sugar
Powdered sugar is used to sweeten the frosting and give it the perfect texture. It dissolves quickly into the butter and cream, creating a smooth, silky frosting that’s easy to pipe or spread. It also helps thicken the frosting so it holds its shape while adding the ideal amount of sweetness.
5. Milk or Cream (As Needed)
Milk or cream is added to adjust the frosting’s consistency. If your frosting is too thick, add a teaspoon of milk or cream at a time until you achieve the desired texture. The goal is to create a smooth, spreadable frosting that doesn’t run but is easy to work with when decorating your cupcakes.
6. Chocolate Shavings or Sprinkles (Optional)
Chocolate shavings or sprinkles are an optional but delicious garnish. They add extra texture and enhance the chocolate flavor. Whether you choose dark or milk chocolate, these decorative elements elevate your cupcakes both visually and taste-wise, making them even more tempting.
Step-by-Step Instructions for Making Chocolate Cupcakes

Making perfect chocolate cupcakes is a straightforward process if you follow these easy steps. Whether you’re a beginner or an experienced baker, this step-by-step guide will walk you through each stage to ensure your cupcakes turn out light, fluffy, and rich in flavor. From preparing your ingredients to baking and cooling, we’ll cover every detail to make sure you create chocolate cupcakes that will impress everyone. Here’s how you do it:
1. Preheat the Oven and Prepare Your Cupcake Tin
Before you begin mixing your ingredients, it’s essential to preheat your oven to 180°C (350°F). This ensures that the cupcakes bake evenly and rise properly. While the oven is heating, line your cupcake tin with cupcake liners. This step helps prevent the cupcakes from sticking and gives them a neat, uniform appearance.
2. Mix the Dry Ingredients
In a medium bowl, sift together your plain flour, cocoa powder, and baking powder. Sifting helps remove any lumps and ensures the dry ingredients are evenly mixed. Cocoa powder is key for that rich chocolate flavor, and the baking powder will ensure your cupcakes rise to perfection. Set this bowl aside.
3. Cream the Butter and Sugar
In a separate large bowl, use an electric mixer or a whisk to beat the softened butter and granulated sugar together. Mix until the mixture becomes light and fluffy, which should take about 3-4 minutes. This step incorporates air into the batter, making your cupcakes soft and light in texture. Once this step is done, you’ll be able to move on to the next!
4. Add the Eggs and Espresso
Next, add the eggs one at a time, beating well after each addition. This helps incorporate them evenly into the butter-sugar mixture. Afterward, mix in the freshly brewed espresso. The coffee enhances the chocolate flavor, adding a deep richness without overpowering the sweetness.
5. Alternate Adding Dry Ingredients and Heavy Whipping Cream
Now, it’s time to combine your wet and dry ingredients. Start by adding about half of the sifted dry ingredients to the wet mixture. Mix gently until combined, then add the heavy whipping cream. Continue alternating between the dry ingredients and the cream until both are fully incorporated. Be careful not to overmix—the key is a smooth, well-combined batter.
6. Fill the Cupcake Liners
Once your batter is ready, use a spoon or an ice cream scoop to evenly distribute the batter into the cupcake liners. Fill each liner about 2/3 full to give the cupcakes room to rise without overflowing.
7. Bake the Cupcakes
Place the filled cupcake tin in the preheated oven and bake for 18-20 minutes, or until a toothpick inserted into the center of a cupcake comes out clean. Keep an eye on them as baking times can vary depending on your oven, so it’s a good idea to check for doneness a minute or two before the recommended time.
8. Cool the Cupcakes
Once baked, remove the cupcakes from the oven and allow them to cool in the tin for about 5 minutes. After that, transfer them to a wire rack to cool completely before frosting. This ensures the cupcakes are firm enough to hold the topping and avoids the frosting melting from the warmth.
Tips for Moist and Fluffy Chocolate Cupcakes
Achieving the perfect texture for your chocolate cupcakes—moist, fluffy, and tender—is the goal of every baker. While the recipe is important, there are several tips and tricks that can help elevate your cupcakes to the next level. Whether you’re a beginner or an experienced baker, these easy-to-follow tips will ensure that your cupcakes turn out light and soft, with the perfect crumb. Let’s dive into some expert advice for getting that ideal texture every time:
1. Use Room Temperature Ingredients
One of the simplest yet most effective tips for making moist and fluffy cupcakes is to ensure your ingredients are at room temperature before mixing. Cold butter, eggs, or milk can cause the batter to seize up and result in dense cupcakes. Let your butter soften and eggs come to room temperature before you begin. This helps them combine more easily into a smooth batter, ensuring even texture and moisture throughout the cupcakes.
2. Don’t Overmix the Batter
Mixing your cupcake batter is an essential step, but overmixing it can lead to dense, rubbery cupcakes. When you combine the wet and dry ingredients, mix just until they’re incorporated. Overmixing causes the gluten in the flour to develop too much, making the cupcakes chewy rather than light and fluffy. Stir gently, and stop as soon as you don’t see any dry flour remaining in the batter.
3. Incorporate Air with Butter and Sugar
When creaming the butter and sugar, take your time to really beat them together until the mixture is light and fluffy. This process incorporates air into the batter, which helps your cupcakes rise beautifully and become fluffy. A hand mixer or stand mixer can make this step easier, but a whisk will work if you’re doing it by hand. Be patient and avoid rushing through this crucial step.
4. Use Buttermilk or Sour Cream
To add extra moisture to your cupcakes, consider using buttermilk or sour cream in place of regular milk. These ingredients not only add moisture but also contribute to a tender crumb. Buttermilk, with its slight tang, can help balance the sweetness of the chocolate, while sour cream provides richness and a soft texture. If you don’t have either, you can make a quick substitute by adding a tablespoon of vinegar to regular milk.
5. Don’t Overfill the Cupcake Liners
When filling your cupcake liners, it’s important not to overfill them. Filling the liners more than 2/3 full can cause the batter to spill over during baking and create dense cupcakes. Underfilling, on the other hand, can lead to cupcakes that are flat and dry. The ideal amount is just above halfway to two-thirds full, giving the batter room to rise without overflowing.
6. Add a Little Espresso for Rich Flavor and Moisture
In addition to enhancing the chocolate flavor, adding a small amount of espresso or coffee to the batter helps retain moisture. The espresso intensifies the cocoa’s richness, but it also prevents the cupcakes from drying out during baking. It’s a secret ingredient that adds depth without making the cupcakes taste like coffee.
7. Bake at the Right Temperature
It might be tempting to raise the oven temperature to bake your cupcakes faster, but this can result in uneven baking and dry cupcakes. Always preheat your oven and bake your cupcakes at the recommended temperature—typically 180°C (350°F). This allows the cupcakes to rise slowly and evenly, ensuring a soft, fluffy texture. Avoid opening the oven door frequently, as this can cause the cupcakes to collapse or bake unevenly.
8. Let Cupcakes Cool Completely Before Frosting
Cooling your cupcakes completely before frosting is essential. When you frost cupcakes while they’re still warm, the frosting can melt and slide off, making a mess and affecting the texture of the cupcakes. Allow the cupcakes to cool on a wire rack for at least 15-20 minutes before frosting to ensure the topping stays intact and the cupcakes remain light and fluffy.
How to Make the Best Chocolate Frosting

The frosting is just as important as the cupcakes themselves. A smooth, creamy, and perfectly balanced chocolate frosting can take your cupcakes from good to extraordinary. Whether you prefer a rich buttercream, a light whipped cream frosting, or something in between, mastering the art of frosting is key to achieving that perfect finish. Here, we’ll show you how to make the best chocolate frosting for your cupcakes—one that complements the moist, fluffy texture and brings out the full chocolate flavor.
1. Start with the Right Base: Butter and Cream
The foundation of any great chocolate frosting is a high-quality base. For a rich, velvety frosting, begin by beating together softened butter and heavy whipping cream. The butter adds creaminess and a smooth texture, while the heavy cream ensures the frosting is light and fluffy. If you’re aiming for a fluffier, lighter texture, you can even substitute some of the butter with mascarpone cheese for a tangy twist.
2. Incorporate Cocoa Powder for a Deep Chocolate Flavor
To make the frosting chocolaty and delicious, sift in high-quality cocoa powder. This adds not only flavor but also a smooth, rich color to the frosting. The type of cocoa powder you choose can affect the taste—Dutch-processed cocoa has a milder flavor, while natural cocoa provides a more intense chocolate flavor. Mix the cocoa powder thoroughly into the butter and cream base until fully combined, ensuring there are no lumps left behind.
3. Sweeten the Frosting with Powdered Sugar
Powdered sugar is the key to achieving the right sweetness and texture for your chocolate frosting. It’s finely ground and dissolves easily, giving the frosting that smooth, fluffy consistency. Gradually add powdered sugar to the cocoa-butter mixture, one cup at a time, mixing well after each addition. Taste as you go to make sure the sweetness is just right—it’s easier to add more sugar than to try and reduce it once it’s in.
4. Add Vanilla Extract for Depth of Flavor
Vanilla extract might seem like a simple addition, but it plays an important role in rounding out the flavors of your frosting. A teaspoon or two of pure vanilla extract adds depth and enhances the chocolate taste, giving the frosting a more complex and aromatic flavor. It’s a small but significant ingredient that can make all the difference.
5. Adjust Consistency with Milk or Cream
The consistency of your chocolate frosting should be thick but spreadable. If your frosting is too stiff, add a small amount of milk or cream, a teaspoon at a time, until it reaches your desired consistency. If it’s too runny, add a bit more powdered sugar to thicken it. The goal is to create a frosting that’s easy to pipe or spread onto your cupcakes without dripping off the sides.
6. Mix Until Smooth and Fluffy
Once all the ingredients are combined, continue beating the frosting for several minutes to make it light and fluffy. The longer you beat, the more air you incorporate, resulting in a smoother, softer texture. It’s important to scrape down the sides of the bowl every so often to ensure all ingredients are well-mixed and the frosting is uniform in texture.
7. Add Chocolate Shavings or Sprinkles for Extra Flair
While optional, adding chocolate shavings, sprinkles, or even a drizzle of melted chocolate on top of the frosting can take your cupcakes to the next level visually and taste-wise. These small details not only add texture but also make the cupcakes look extra indulgent. Feel free to get creative with your toppings based on the occasion—whether it’s a holiday, a birthday, or just because!
8. Frost the Cupcakes Right Before Serving
Once your cupcakes have cooled completely and your frosting is ready, it’s time to frost! Use an offset spatula or a piping bag with a decorative tip to spread or pipe the frosting onto your cupcakes. Be sure to work quickly, as frosting can harden slightly if left out too long. For an extra professional look, you can swirl the frosting on top or create decorative peaks. And don’t forget to enjoy the process—frosting is an art in itself!
Decorating and Storing Your Chocolate Cupcakes

Decorating your chocolate cupcakes is a fun and creative part of the baking process, allowing you to express your personal style and elevate the presentation of your treats. The right decoration can make your cupcakes look just as delicious as they taste. From simple frosting to elaborate designs, here’s how to make sure your cupcakes are both beautiful and tasty.
Frosting Your Cupcakes
The first step in decorating is frosting your cupcakes with the smooth, creamy chocolate frosting you’ve prepared. You can use an offset spatula or a piping bag with your favorite nozzle to create beautiful swirls or decorative peaks. If you prefer a more textured look, you can pipe rosettes or even simple circles. For a more professional touch, consider adding some texture to the frosting by swirling it with the back of a spoon or using multiple layers for a unique design.
Tip: Let your cupcakes cool completely before frosting to avoid any melting or running of the frosting.
Garnishing with Chocolate Shavings or Sprinkles
To give your cupcakes that extra special touch, garnish them with chocolate shavings, grated chocolate, or colorful sprinkles. Chocolate shavings add a beautiful texture and a hint of extra chocolate flavor. You can use dark, milk, or even white chocolate shavings to suit your taste or the occasion. Sprinkles, whether rainbow or classic chocolate, add a playful and vibrant look to your cupcakes, making them even more appealing.
Optional: If you’re preparing cupcakes for a special occasion, such as a birthday or holiday, consider using themed decorations, like edible glitter, fondant shapes, or themed toppers to match the event.
Creating Custom Toppings
If you want to get more creative, you can experiment with additional toppings like fresh fruit, crushed nuts, or even marshmallows. For example, raspberries or strawberries can complement the chocolate flavor and add a burst of freshness. Crushed hazelnuts or almonds provide a crunchy texture that pairs beautifully with the creamy frosting. Marshmallows can add a fun, nostalgic touch, especially when toasted lightly for added flavor.
Storing Your Chocolate Cupcakes
Once you’ve decorated your cupcakes, you need to store them properly to maintain their freshness and texture.
- Room Temperature Storage: If you plan to enjoy the cupcakes within a day or two, you can store them at room temperature. Simply place them in an airtight container to keep them fresh and prevent them from drying out. Make sure they are stored in a cool, dry place away from direct sunlight or heat sources.
- Refrigeration for Longer Storage: If you’re not planning to eat them right away or if your frosting contains dairy, store your cupcakes in the refrigerator. Place the cupcakes in an airtight container, and refrigerate them for up to 3-4 days. Be sure to let them come to room temperature before serving to enjoy the best texture.
- Freezing Cupcakes: For longer storage, you can freeze your decorated cupcakes. Wrap each cupcake individually in plastic wrap and then place them in an airtight container or a resealable freezer bag. Frozen cupcakes can last for up to 3 months. When you’re ready to enjoy them, simply thaw them at room temperature for about an hour, and they’ll taste fresh and delicious.
Tip: To avoid frostings from sticking to the container, place a piece of parchment paper or wax paper between the layers if stacking the cupcakes.
By following these decorating and storing tips, your chocolate cupcakes will not only look amazing but will stay fresh for days, making them the perfect treat for any occasion.
Conclusion
Baking chocolate cupcakes is an incredibly rewarding experience, and with the right ingredients, techniques, and a little creativity, you can create cupcakes that are not only delicious but also visually stunning. By following this step-by-step guide, you’ll learn how to make the perfect chocolate cupcakes, from the moist, fluffy texture to the rich, creamy frosting that complements every bite.
The key to making perfect chocolate cupcakes lies in the balance of ingredients, the careful mixing process, and, of course, the joy of decorating them to suit any occasion. Whether you’re baking for a special celebration, a family gathering, or simply to indulge yourself, these cupcakes are sure to impress.
In this guide, we’ve highlighted the essential ingredients for the perfect cupcake base and frosting, shared tips to keep your cupcakes moist and fluffy, and offered creative ideas for decorating your cupcakes. Whether you’re a beginner or an experienced baker, mastering chocolate cupcakes can be an enjoyable and satisfying process.
Remember, baking is all about experimenting and having fun, so feel free to play around with different flavor variations, decorations, and frostings. If you follow the instructions and tips shared here, you’ll be well on your way to creating cupcakes that are both tasty and Instagram-worthy.
So, get your apron on, gather your ingredients, and start baking these irresistible chocolate cupcakes that everyone will love. Don’t forget to enjoy the process, from the first whisk of the batter to the final garnish on top. Happy baking!

